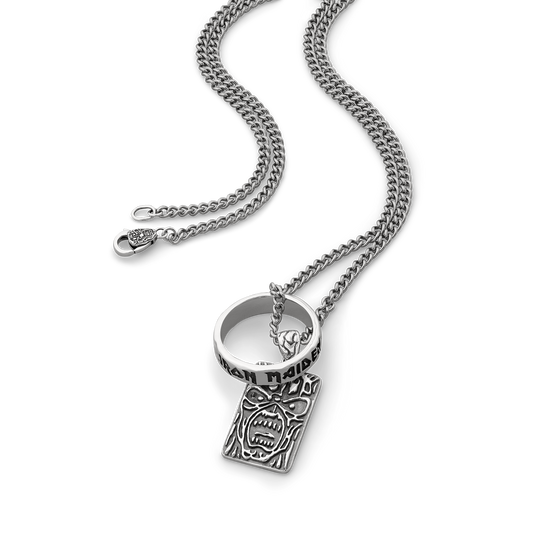
Chain necklaces offer a sleek and timeless gleam, sought after for millennia.1 Their subtle allure and delicate craftsmanship hook the eye and complement a variety of styles.
But chains rely on small, interlocking metal pieces, making them susceptible to breakage.
Fortunately, a sudden accident doesn’t spell doom for your favorite chain. Learn how to fix a broken chain necklace by following these simple steps.
Tools You’ll Need to Fix a Broken Chain Necklace
Before beginning, you’ll need to assemble the proper tools. For DIY repairs, you’ll need:
- Jump ring – A jump ring allows you to connect broken chain links. They have built-in seams for easy attachment.
- Flat-nose pliers – Available at any hardware store, flat-nose pliers help grip the tiny rings and shape them as needed.
- Magnifying glasses (optional) – A magnifier is not strictly necessary, but it can help you see thin or tightly wound chains.
Some jewelry repairs call for a soldering iron, but it’s best to leave this to professionals.
How to Identify the Type of Chain and Break
Once you have your tools, it’s time to make a quick game plan:
- Determine the chain type – There are a variety of different chain styles, including curb, snake, and rope.2 Breaks impact each style differently. For instance, rope chains have finer loops and often break near the clasp, requiring a more refined repair approach.
- Locate the break – Carefully inspect the chain’s links (the magnifying glass comes in handy here). Start with the clasp area and expand outward. When you strike the broken link, examine the surrounding loops for additional damage or weakness.
Carefully studying your chain also helps you understand how the chain links fit together—crucial for quality repairs.

Step-by-Step Guide to Fixing a Broken Chain Necklace
Now it’s time to make your broken chain whole again. Follow this simple process with care.
Step 1: Gather Your Materials
Ensure you have everything you need for the broken necklace chain repair: pliers, replacement clasps, and jump rings.
Step 2: Prepare the Chain for Repair
Before diving in, thoroughly clean your chain. Debris and grime can gum up the works when trying to restore jewelry to its former glory.
Use soap, water, and a clean microfiber cloth to gently remove gunk. Dry your necklace with a fresh cloth, then lay it out on a soft, level surface.
Step 3: Reconnecting the Links
For broken links, use your pliers to gently open the jump ring along the seams. Go easy. Never yank jump rings apart, or you’ll soon have another broken chain on your hands.
Next, use your pliers to remove the broken ring. Line up the intact loops and gently hook them over the jump ring’s open ends.
Finally, make sure everything lines up properly, then close the jump ring. Use your pliers to firmly press it shut.
Step 4: Reattaching the Clasp
A chain’s clasp is usually the primary weak link. If a broken clasp is to blame, you’ll need to purchase a replacement before starting repairs. Once you have it on hand:
- Work the damaged clasp loose – Gently pry it free using your pliers.
- Use a jump ring to attach the new clasp – Hook it around the jump ring's open loops.
- Clamp the jump ring shut – Force it closed with your pliers.
Clasps bear much of the pressure, so they’re prone to breaking. Replacing it will revive your necklace and extend its life.
When to Seek Professional Help for Chain Repairs
While DIY can go a long way for jewelry care, some repairs call for the big guns. Professional jewellers possess the expertise and specialized tools needed to address delicate operations like straightening bent prongs or resetting loose gems.
In general, you should defer to a pro if:
- Your chain holds exceptional value – For high-end pieces or those that hold emotional significance, an expert can ensure precise repairs.
- Advanced techniques are needed – Fusing metal comes with a learning curve. While DIY soldering is possible, it’s best to leave it to the professionals.
Tackling tough tasks at home is commendable. But knowing when to seek expertise often means the difference between a successful repair and further damage.
How to Prevent Future Chain Breaks
Even with masterful craftsmanship, there’s no such thing as an invincible necklace. But with proper vigilance, you can prevent most breakage and preserve your piece’s longevity.
To guard against snaps:
- Handle with care – Needless to say, fine jewelry requires a deft touch. Avoid yanking or tugging when putting on or taking off your necklace.
- Remove before strenuous activity – Playing sports, roughhousing with your kids, or swimming in the ocean all pose the risk of breakage. Safely stow jewelry beforehand.
- Store separately – When jumbled in the same space, chains can easily tangle, leading to snags or bent rings. Keep each piece in an individual bag or hang them separately.
- Don’t wear jewelry to bed – Tossing and turning can scratch and dent jewelry. Always remove at bedtime.
By sparing your necklaces from the rough and tumble side of life, you can keep them intact and gleaming for generations.

Clocks + Colours: Forged for the Ages
Accidents befall even the finest men’s silver chain necklaces. When they do, a swift repair can restore them to glory. But it’s no secret that high-end pieces, crafted by dedicated artisans steeped in the ancient silversmithing tradition, better withstand the vagaries of life.
At Clocks + Colours, we’ve assembled a team of just such craftspeople. From sterling silver to black onyx, our makers breathe life into countless designs.
Give voice to your inner fire, with pieces built for the ages. Discover our designer jewelry today.
Sources:
- Mining.com Silver through the ages: The uses of silver over time. https://www.mining.com/web/silver-through-the-ages-the-uses-of-silver-over-time/
- Bmytextile. Strongest and Weakest Gold Chain Styles Explained. https://www.bmytextile.com/strongest-and-weakest-gold-chain-styles-explained1701167318.html


